Account Management Self Help
Browse through the navigation tabs for the information you are interested in.
It is a module that manages all aspects of an account such as personal/login account/company data, application and data access.
| Subject | Remarks |
| Account Information | View and update the information on your account, such as name, User ID, Email Address, street addresses, phone numbers, and email subscriptions. |
| Application Access | Request access to additional applications. |
| Data Access for WebSuite | View and manage the supplier locations for which you can access transactions in WebSuite applications (POs / Forecasts / ASNs / Invoices / Payments). |
| Check Status of Application Access/EVM Role Requests | Check the status of your application access requests or the status of your EVM role request. |
| Become an EVM | Become an Employee Validation Manager to manage the access rights for the users at your company. |
| View and Contact Company EVMs | View a list of the Employee Validation Managers at your company and send messages. |
| Remove Access | Remove access to all applications on supplier.intel.com. |
| Change Password | Change the password on this account. |
FAQs
Frequently Asked Questions
| Step | Action |
| 1 | Go to supplier.intel.com. |
| 2 | Click on Supplier Sign-In link. |
| Result: The Intel Login page is displayed. | |
| 3 | Enter your User ID and Password. |
| 4 | Click Sign In. |
| Result: The Supplier Information page is displayed. | |
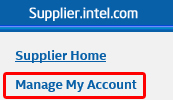
| 5 | Click Manage My Account.
|
| Result: The Manage my Account page is displayed. Note: Navigate through that page to update and/or manage your account. |

| Step | Action |
| 1 | Go to supplier.intel.com. |
| 2 | Click Supplier Sign-In > enter your User ID and Password > click Sign In. |
| Result: The Supplier Information page is displayed. | |
| 3 | Click Manage My Account.
|
| Result: The Manage my Account page is displayed. | |
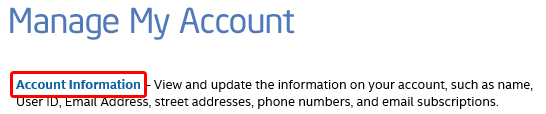
| 4 | Click Account Information.
|
| Result: The Account Information page is displayed. | |
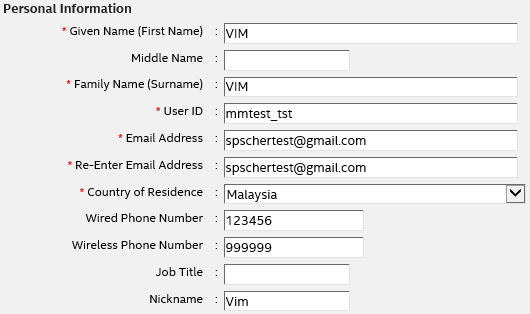
| 5 | (Optional) Update the Personal Information section.
|
Notes:
|
|
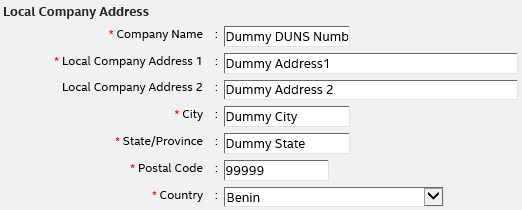
| 6 | (Optional) Update the Local Company Address section.
|
| 7 | Click Save. |

| Step | Action |
| 1 | Go to supplier.intel.com. |
| 2 | Click Supplier Sign-In > enter your User ID and Password > click Sign In. |
| Result: The Supplier Information page is displayed. | |
| 3 | Click Manage My Account.
|
| Result: The Manage my Account page is displayed. | |
| 4 | Click Remove Access.
|
| 5 | Click Remove Access. |
Notes: Perform this action if and only if
|
|
| Result: All your access to applications on supplier.intel.com is removed. You have to submit new application request in case you would like to restore your access in the near future. |

| Step | Action |
| 1 | Go to supplier.intel.com. |
| 2 | Click Supplier Sign-In > enter your User ID and Password > click Sign In. |
| Result: The Supplier Information page is displayed. | |
| 3 | Click Manage My Account.
|
| Result: The Manage my Account page is displayed. | |
| 4 | Click Change Password.
|
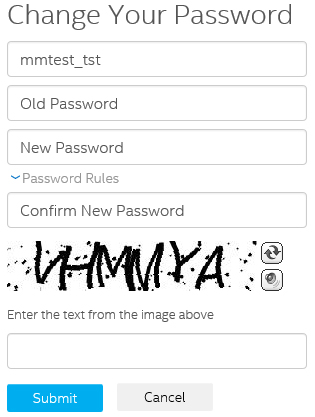
| Result: The Change your Password page is displayed.
|
|
| 5 | Update all the form fields. |
| 6 | Click Submit. |
| Result: Your new password is recorded. | |
| Note: You may now log in using your user ID and new password. |

FAQs
Frequently Asked Questions
| Step | Action |
| 1 | Go to supplier.intel.com. |
| 2 | Click Supplier Sign-In > enter your User ID and Password > click Sign In. |
| Result: The Supplier Information page is displayed. | |
| 3 | Click Account > Application Access. |
| Result: The Application Access page is displayed. | |
| 4 | Select checkbox to request for additional permissions.
|
| 5 | Click Submit. |
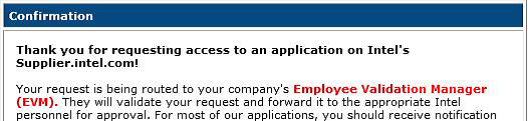
| Note: You might be prompted to provide additional information. Result: The confirmation message is displayed. Your application is now subject to your EVM’s approval.
|

| Step | Action |
| 1 | Go to supplier.intel.com. |
| 2 | Click Supplier Sign-In > enter your User ID and Password > click Sign In. |
| Result: The Supplier Information page is displayed. | |
| 3 | Click Account > Data Access for WebSuite.
|
| Result: The Data Access for WebSuite page is displayed. | |
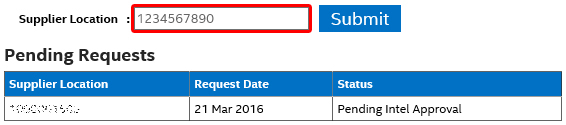
| 4 | Enter the Supplier ID OR Supplier Location.
|
| 5 | Click Submit. |
| Result: Your request has been received, and can be located under the Pending for Approval section. Note: Based on the status and approval protocols, your request will be displayed as Approved, Rejected, or Pending for Approval. |

| Step | Action |
| 1 | Go to supplier.intel.com. |
| 2 | Click Supplier Sign-In > enter your User ID and Password > click Sign In. |
| Result: The Supplier Information page is displayed. | |
| 3 | Click Account > Data Access for WebSuite.
|
| Result: The Data Access for WebSuite page is displayed. | |
| 4 | Go to Approved Request section. |
| 5 | Identify the Supplier ID OR Supplier Location you would like to remove. |
| Note: Removing unneeded Supplier Location helps you manage the amount of data that you see. | |
| 6 | Click Remove.
|
| Note: The selected Supplier Location is now removed from your account. |

| Step | Action | |||||||||
| 1 | Go to supplier.intel.com. | |||||||||
| 2 | Click Supplier Sign-In > enter your User ID and Password > click Sign In. | |||||||||
| Result: The Supplier Information page is displayed. | ||||||||||
| 3 | Click Account > Check Status of Application/EVM Requests.
|
|||||||||
Result: The date and status of your request is displayed.
|

FAQs
Frequently Asked Questions
- A critical security role responsible for managing each supplier’s user accounts, and their access to confidential data.
- Each supplier must identify at least ONE (1) EVM to manage its users.
- EVM’s Revalidation must be completed every SIX (6) months.
- All users for that supplier will lose their access until a new EVM is identified.
- Approving or rejecting new user requests for access to applications on supplier.intel.com.
- Revoking user access when accounts are no longer needed or wanted.
- Quarterly audits to ensure that user lists are up to date (also known as User Revalidation).
- Re-applying for the EVM role every six months (also known as EVM Revalidation).
| Step | Action |
| 1 | Go to supplier.intel.com. |
| 2 | Click Supplier Sign-In > enter your User ID and Password > click Sign In. |
| Result: The Supplier Information page is displayed. | |
| 3 | Click Account > Become an EVM.
|
| Result: The Become an Employee Validation Manager page is displayed. | |
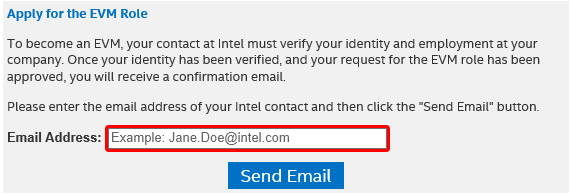
| 4 | Go to Apply for the EVM Role section. |
| 5 | Enter email address of your Intel contact.
|
| 6 | Click Send Email. |
| Note: You may call or e-mail your Intel contact to approve your EVM request. |

| Step | Action |
| 1 | Go to supplier.intel.com. |
| 2 | Click Supplier Sign-In > enter your User ID and Password > click Sign In. |
| Result: The Supplier Information page is displayed. | |
| 3 | Click Account > View and Contact Company EVMs. |
| Result: The View and Contact Company EVMs page is displayed.. |